When we talk about "natural" teeth whitening, we're really talking about two things: gently polishing away surface stains and adopting habits that prevent new ones from forming. It’s less about chemically changing your tooth color and more about revealing the bright, clean surface that’s been dulled by things like coffee, tea, and red wine.
To get real, noticeable results without damaging your enamel, the key is using the right technique and being consistent.
Your Guide to a Naturally Brighter Smile
The quest for a brilliant smile is nothing new. Long before we had whitening strips and gels, people were getting creative. Ancient Egyptians, for example, would mix pumice stone with wine vinegar to scrub their teeth clean. Thankfully, we have much gentler and safer options available to us today.
This guide will walk you through evidence-informed methods you can try at home, focusing on what actually works and how to do it safely.
Setting Realistic Expectations
First things first, let's be clear about what natural whitening can and can't do. These techniques are fantastic for tackling extrinsic stains—the discoloration that sits on the surface of your enamel. Think of it as buffing out minor scuffs rather than repainting the whole thing.
Here’s a realistic look at what you can achieve:
- Lift recent surface stains from daily culprits like coffee, tea, and dark berries.
- Maintain your smile’s brightness, especially after a professional cleaning or whitening treatment.
- Boost your overall oral health, as many of these methods also help reduce plaque and support healthy gums.
What these remedies won't do is change your tooth's deep, internal shade (the intrinsic color). This is determined by the dentin under your enamel and is influenced by things like genetics, age, and certain medications that you have no control over.
Natural Teeth Whitening Methods at a Glance
To give you a quick overview, here's a simple breakdown of some popular methods. We'll dive deeper into each of these later, but this table offers a great starting point for understanding how they work and what to watch out for.
| Method | How It Works | Effectiveness & Safety Notes |
|---|---|---|
| Baking Soda Paste | A mild abrasive that gently scrubs surface stains from enamel. | Good for surface stains, but limit use to 1-2 times per week to avoid enamel erosion. |
| Oil Pulling | Swishing oil (like coconut) helps lift bacteria and plaque that cause dullness. | More of a long-term oral hygiene boost that contributes to brightness. Very safe for daily use. |
| Hydrogen Peroxide Rinse | A very diluted solution has a mild bleaching effect on stains. | Can work, but never use a concentration above 3%. Must be properly diluted to avoid gum irritation and is not for daily use. |
These methods are best viewed as complementary additions to your oral care routine, not replacements for the fundamentals.
Before you try any at-home whitening, it’s always a smart move to start with a clean slate. Having your teeth professionally cleaned removes any plaque or tartar buildup, ensuring that your natural whitening efforts can work directly on the enamel. You can check out our guide on the benefits of routine dental cleanings in San Diego to learn more. Here at Serena San Diego Dentist, we can get your smile ready, creating the perfect canvas for you to maintain its brightness.
Understanding What's Staining Your Teeth in the First Place
Before we jump into how to brighten your smile naturally, it’s crucial to know what you’re up against. I often tell my patients to think of a tooth like a white t-shirt. Some stains, like a coffee spill, are just on the surface and can often be scrubbed out. But others, like an ink stain that soaks deep into the fabric, are a whole different ballgame. Tooth discoloration works a lot like that.
Your teeth get their color from two key layers: the hard, almost see-through outer layer called enamel, and the softer, naturally yellowish layer underneath it, the dentin. When your enamel is thick and healthy, it does a great job of masking that yellow dentin, making your teeth look bright and white. Problems start when stains build up on the outside, or when the enamel itself starts to thin out, letting more of that yellow dentin show through.
Extrinsic Stains: The Surface-Level Culprits
Extrinsic stains are the ones most of us are dealing with. The good news? They're also the easiest to tackle with natural, at-home methods. These are stains that latch onto the surface of your tooth enamel, slowly but surely dimming your smile.
They're almost always a result of what we eat and drink. The biggest offenders are foods and drinks loaded with strong pigments and compounds called tannins, which just love to stick to enamel and leave behind a yellowish or brownish tint.
Here are the usual suspects:
- Coffee and Tea: That daily morning ritual is a primary source of staining tannins.
- Red Wine: Its deep color and acidity are a double-whammy for staining.
- Dark Sodas and Juices: Think colas, grape juice, and even some cranberry juices.
- Berries and Sauces: Foods like blueberries, blackberries, rich tomato sauces, and soy sauce can leave their mark.
- Tobacco: Whether from smoking or chewing, nicotine and tar create some of the most stubborn yellow and brown stains out there.
Living here in sunny San Diego, an iced coffee can feel like a daily necessity. I get it. But it’s important to realize that over time, that habit can lead to some pretty noticeable yellowing. Because these stains are just sitting on the surface, however, they respond really well to consistent, gentle cleaning and good oral hygiene.
Intrinsic Stains: When the Discoloration is Deeper
Now, intrinsic stains are a different beast entirely. This kind of discoloration happens inside the tooth, affecting that deeper dentin layer. Since the stain is internal, no amount of surface scrubbing or natural whitening paste is going to touch it.
These deeper stains are often caused by factors that are completely out of your control.
Key Takeaway: While natural remedies are excellent for managing surface (extrinsic) stains from your diet, they cannot change the color of deep-set (intrinsic) stains. Understanding this difference helps you set realistic goals for your at-home whitening efforts.
Here are some of the primary reasons for intrinsic discoloration:
- Aging: It's just a fact of life. As we get older, our enamel naturally gets thinner, which lets more of that yellow dentin peek through.
- Genetics: Some people are simply born with enamel that's a bit thinner or dentin that has a more yellow hue. It’s just in their DNA.
- Medications: Certain antibiotics, especially tetracycline, can cause permanent gray or brown banding inside the teeth if taken when teeth are still developing in childhood.
- Trauma: If a tooth takes a hard hit from an injury, the nerve can die, causing the tooth to darken to a gray, brown, or even black shade over time.
- Too Much Fluoride: Fluoride is fantastic for preventing cavities, but getting way too much of it during childhood (a condition called fluorosis) can cause white or brown spots to form on the enamel.
Since intrinsic stains are literally part of the tooth's internal structure, they really need a professional's touch. For a more in-depth look, you can read our detailed article on what causes tooth discoloration. If you look at your smile and suspect the stains are more than just surface-level, natural remedies won't give you the results you're hoping for, and your best bet is to come see us for a consultation.
Proven Home Remedies for Natural Whitening
Now that we've covered what causes those pesky surface stains, let's get into the practical stuff—how to actually lift them safely at home. When you want to whiten your teeth naturally, the real secret is consistency and using the right approach to keep your enamel and gums happy.
You've probably seen some wild trends online, like using straight lemon juice or harsh charcoal scrubs. Please steer clear of those. They can cause permanent damage to your tooth enamel. We're going to focus on gentle remedies that actually support your oral health while gradually brightening your smile.
This image really drives home how everyday habits, like that morning cup of coffee, lead directly to stains building up on your teeth.
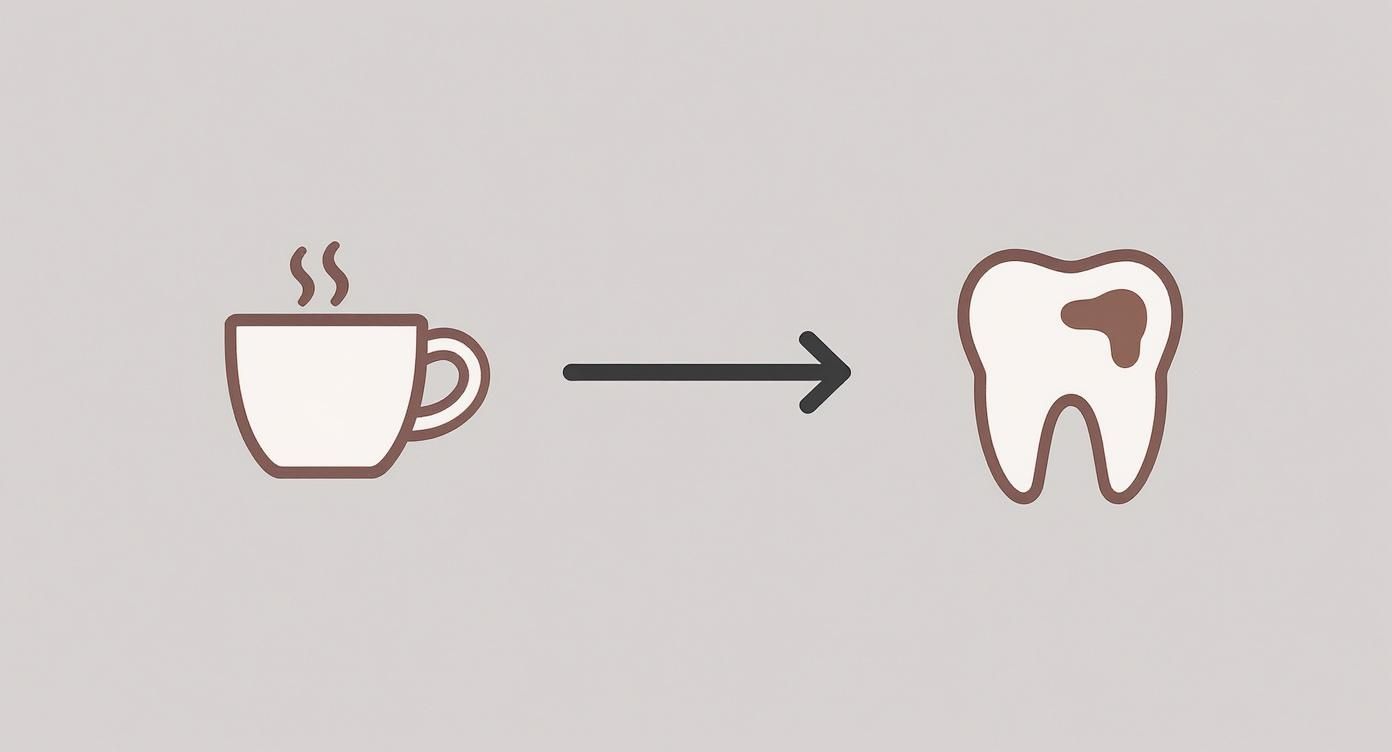
It’s a simple visual, but it perfectly illustrates why a consistent, gentle removal routine is so effective over time.
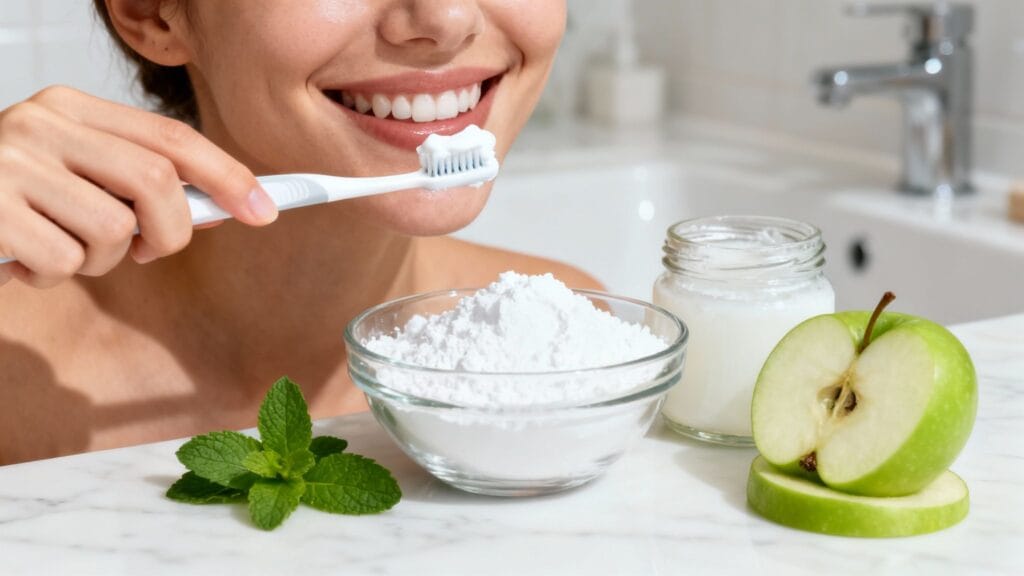
Harnessing Baking Soda for a Gentle Polish
Baking soda, or sodium bicarbonate, is one of the oldest tricks in the book for a reason. It's a mild abrasive that gently buffs away surface stains without bleaching your teeth. As a bonus, it creates a more alkaline environment in your mouth, which helps slow down the growth of bacteria that contribute to discoloration.
It's not just an old wives' tale, either. A 2017 study confirmed that brushing with baking soda is a safe and effective way to tackle stains with very little risk to your enamel.
How to Use It Safely:
- Make a paste: Mix about half a teaspoon of baking soda with just a few drops of water to get a smooth, toothpaste-like texture.
- Brush gently: Use a soft-bristled toothbrush to apply the paste, brushing in small, circular motions for about a minute. Pay a little extra attention to stained spots.
- Rinse well: Spit it out and rinse your mouth thoroughly with water until all the baking soda is gone.
- Limit your use: This isn't an everyday thing. Stick to this routine once or twice per week to avoid wearing down your enamel over time.
A Quick Tip: Never scrub with dry baking soda, and always be gentle. Think of it as polishing, not scouring. Brushing too aggressively can lead to sensitive teeth and enamel damage.
The Practice of Oil Pulling with Coconut Oil
Oil pulling is an ancient Ayurvedic technique that’s gained a lot of modern fans. The idea is to swish oil around your mouth to draw out bacteria and improve oral hygiene. While it won't bleach your teeth, it can definitely make them appear brighter by cutting down on the plaque and bacteria that cause that dull, yellow look.
Coconut oil is the go-to choice because it’s rich in lauric acid, which is fantastic at fighting microbes. By reducing harmful bacteria like Streptococcus mutans (a major cause of plaque and gingivitis), oil pulling helps create a cleaner, healthier environment in your mouth, which translates to a naturally brighter smile.
How to Do It Correctly:
- Start with one tablespoon of a good quality, cold-pressed coconut oil.
- Before you brush in the morning, swish the oil around your mouth for 10-15 minutes. Gently pull and push it between your teeth.
- When you're done, spit the oil into the trash can—never the sink! It can solidify and clog your pipes.
- Rinse your mouth out with warm water, then go ahead and brush your teeth like you normally would.
You can do this several times a week or even make it a daily habit. It’s more of a long-term wellness practice that contributes to a brighter smile over months, not just a few days.
Using a Diluted Hydrogen Peroxide Rinse
Hydrogen peroxide is a natural bleaching agent—it's the same active ingredient found in most commercial whitening kits, just at much, much higher concentrations. When it's properly diluted to a very low strength, it can help lighten stains. But you have to be extremely careful with this one.
The Only Safe Way to Use It:
The key is to only use a 3% food-grade hydrogen peroxide solution, which you can find at any pharmacy. Anything stronger can cause serious gum irritation and enamel damage.
Here's the right way to do it:
- Dilute, dilute, dilute: Mix one part 3% hydrogen peroxide with one part water. An easy mix is one tablespoon of each.
- Swish for a short time: Rinse with the diluted solution for only 30-60 seconds. It might foam up a bit, which is totally normal.
- Spit and rinse again: Spit it all out and then rinse your mouth really well with plain water.
- Don't overdo it: This is not for daily use. Limit this rinse to two or three times per week, max, to avoid irritating your gums.
If you feel any stinging, stop right away and rinse with water. There are many different techniques out there, and for a more in-depth guide on safe at-home teeth whitening methods, it’s always a good idea to consult trusted resources. At the end of the day, the goal is a brighter smile without sacrificing the health of your teeth and gums.
Foods and Habits That Keep Your Smile Bright
Getting your teeth whitened is only half the story. The real secret to lasting success is learning how to keep them that way. This is where shifting your focus to proactive habits and what I call a "whitening diet" makes all the difference in protecting the smile you've worked so hard for.
Don't worry, this isn't about giving up everything you love. It’s about making smart, simple swaps and adding a few key things to your routine that stop new stains from ever taking hold.
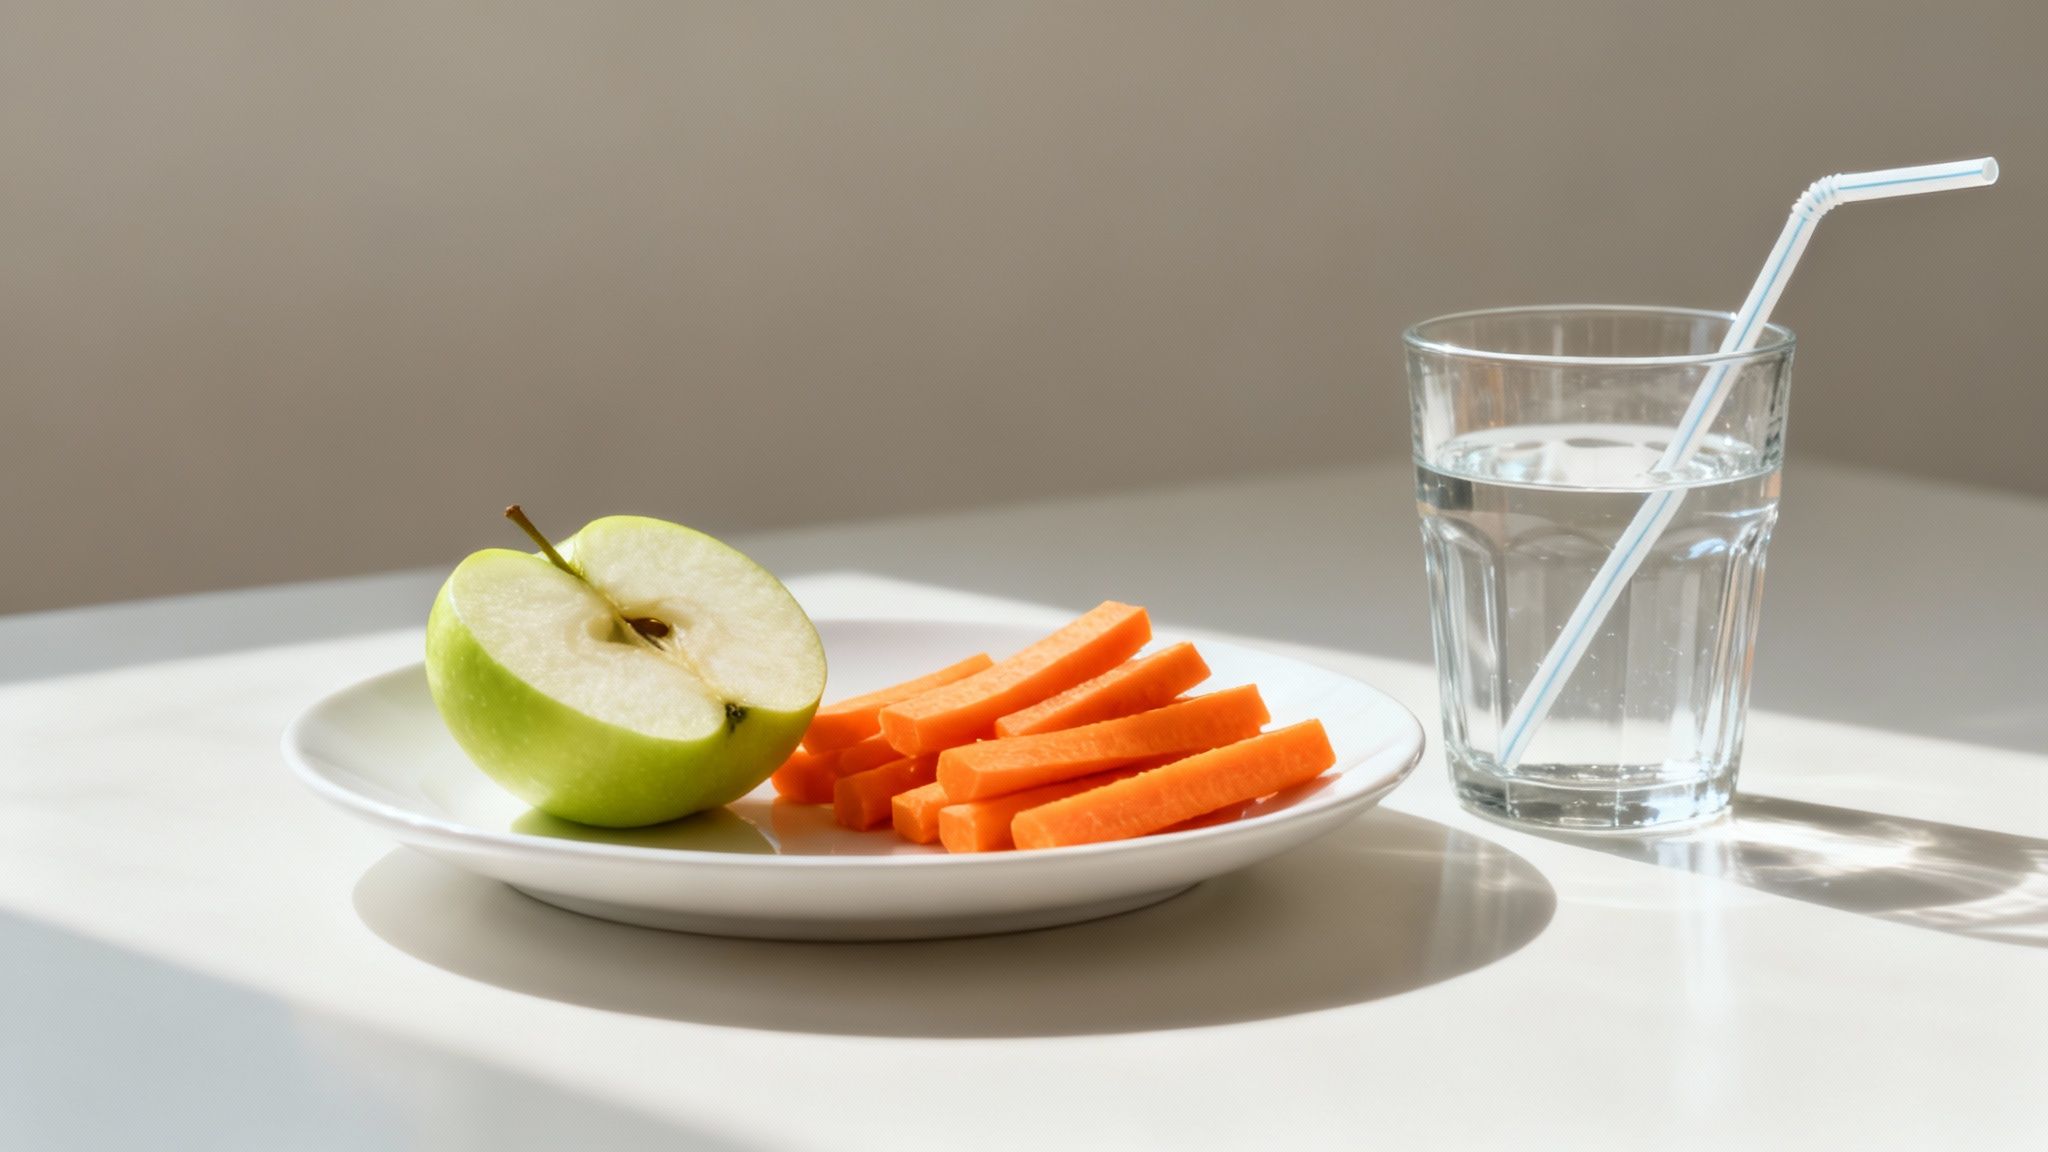
The Whitening Diet: Foods That Scrub Your Teeth
Believe it or not, some foods act like nature’s own toothbrushes. Their crisp, fibrous texture helps gently scrub away plaque and surface stains while you chew. They also get your saliva flowing, which is your mouth's built-in cleaning service.
Working more of these into your diet is an easy win:
- Apples: That satisfying crunch isn't just for show. It acts as a mild abrasive, and the high water content helps wash away bacteria and leftover food particles.
- Carrots and Celery: Just like apples, these firm veggies demand a lot of chewing. This action physically scrubs your tooth surfaces and really kicks saliva production into high gear.
- Cheese and Yogurt: Dairy is packed with calcium and phosphorus, two minerals absolutely essential for strengthening tooth enamel. The stronger your enamel, the more resistant it is to staining.
- Pineapples: This one might surprise you. Pineapple contains an enzyme called bromelain, which is known to help break down plaque and diminish surface stains.
For a few more ideas, take a look at these 3 foods that can naturally whiten your teeth.
Minimizing the Impact of Staining Culprits
You don't have to break up with your morning coffee or that glass of red wine. The trick is to be mindful of how you consume them to reduce their staining power.
Pro Tip: My favorite simple-but-effective trick is to swish your mouth with plain water for 30 seconds right after having a staining food or drink. This tiny habit makes a huge difference by rinsing away the pigments and acids before they can settle on your enamel.
Here are a few other practical strategies to adopt:
- Use a Straw: When drinking iced coffee, tea, or dark sodas, a straw is your best friend. It helps the liquid bypass your front teeth, which are most visible.
- Don't Let It Linger: It's better to drink that coffee in one sitting than to sip on it for hours. This drastically cuts down the total time your teeth are exposed to staining agents.
- Wait to Brush: This one feels wrong, but it's critical. After anything acidic (wine, citrus, soda), you need to wait at least 30 minutes before brushing. Brushing right away actually grinds the acid into your enamel, causing erosion.
Of course, knowing what the biggest offenders are is the first step. For a detailed list, check out our guide on how certain foods stain your teeth.
Lifestyle Habits for Long-Term Brightness
Beyond what you eat and drink, a few foundational habits are non-negotiable for keeping that smile radiant for the long haul.
Commit to Consistent Oral Hygiene
This is the big one. Brushing twice a day with fluoride toothpaste and flossing daily removes the sticky plaque that stains cling to. If the surface isn't clean, stains will set in much faster.
Stay Hydrated with Water
Drinking plenty of water all day doesn't just keep you healthy—it keeps your mouth rinsed. It washes away food debris and neutralizes acids, preventing them from dulling your smile.
Schedule Regular Dental Cleanings
Even the best at-home care can't remove everything. Some plaque eventually hardens into tartar, and only a professional cleaning can get it off. Your regular cleanings here at Serena San Diego Dentist remove this buildup and polish away surface stains, giving you a completely fresh start every six months.
When Natural Methods Aren't Cutting It
Natural remedies are a fantastic first step for tackling recent surface stains and keeping your smile bright. But it's crucial to be realistic about what they can and can't do. I often tell my patients to think of it this way: natural methods can clean the windows, but they can’t repaint the walls inside the house.
If you're dealing with discoloration that’s been there for years, or you’re just hoping for a more dramatic change, it’s probably time to see what a professional can do.
Signs It’s Time to See a Dentist
Have you been diligent with at-home care but still feel disappointed with the results? It's likely not your fault. Some types of stains are simply too deep for any home remedy to touch.
Here are a few tell-tale signs that it’s time to book a consultation with a cosmetic dentist:
- Stubborn, Deep Stains: If your teeth have a grayish or deep yellow tint that just won't lift, you're likely dealing with intrinsic stains. This means the discoloration is inside the tooth, where only professional-grade treatments can reach.
- You Have Dental Work: It’s important to remember that natural whiteners won't change the color of crowns, veneers, or fillings. Whitening only the natural teeth around them can create an uneven, mismatched appearance.
- You're Experiencing Sensitivity: If even gentle home remedies are causing tooth sensitivity or pain, stop immediately and see a professional. This could be a sign of a bigger issue, like thinning enamel, that needs attention before any whitening.
- You Need Dramatic Results, Fast: Let’s say you have a wedding or a big event coming up in San Diego. Natural methods work slowly, if at all. Professional treatments are designed to deliver safe, predictable, and significant results when you need them.
What to Expect from Professional Whitening
Visiting a cosmetic dentist gives you access to treatments that are far more powerful—and safer—than anything you can try on your own. A professional evaluates the health of your enamel and gums first, ensuring that any whitening treatment is a good fit for you.
These treatments typically use higher, more effective concentrations of agents like carbamide or hydrogen peroxide. Crucially, they’re applied in a controlled setting to protect your gums and soft tissues from irritation.
For anyone in San Diego thinking about a brighter smile, a professional consultation is the best way to get a personalized plan. It takes the guesswork out of the equation and puts you on the safest, most effective path to the smile you want.
The interest in these kinds of effective solutions is booming. The global teeth whitening market was valued at around USD 8.08 billion in 2024 and is expected to keep growing, which shows just how many people are looking for a brilliant smile. You can discover more insights about teeth whitening market trends to see how popular professional services have become.
Here at Serena San Diego Dentist, we provide treatments that achieve the kind of radiant, confident smile that natural methods simply can't deliver. If you're curious about what's possible, we've outlined five ways professional whitening can help with yellow teeth in another post. Making the right choice for your smile starts with knowing all your options.
Common Questions About Natural Teeth Whitening
It's smart to ask questions when you're exploring natural teeth whitening. There's a ton of information out there—some good, some not so good—and it's easy to get confused. Let's clear up some of the most common questions we hear from patients at our San Diego practice.
How Long Until I See Results from Natural Methods?
When it comes to natural whitening, patience really is a virtue. This isn't like a professional treatment where you walk out with a dramatically brighter smile in an hour. Natural methods work slowly, over time.
If you're consistent with gentle approaches like baking soda or oil pulling, you might notice a subtle improvement in two to three weeks. Think of it less as a total transformation and more as a gradual lifting of recent surface stains from things like coffee, tea, or red wine.
A key thing to remember: natural whitening is about restoring your teeth to their original shade, not changing their inherent color. It polishes away the daily grime, but it won't bleach deep-set, older stains.
Are Natural Teeth Whitening Remedies Truly Safe?
They can be, but only if you're careful and stick to the right methods. The internet is full of DIY "hacks" that can seriously damage your teeth. Safety comes down to using proven remedies correctly and in moderation.
- Baking soda: It's a mild abrasive that works, but if you scrub too hard or use it too often, you risk wearing down your precious enamel. That can lead to permanent sensitivity.
- Acidic ingredients: Stay far away from things like straight lemon juice or apple cider vinegar. Acid is enamel's worst enemy—it literally dissolves the protective outer layer of your teeth, and once that's gone, it doesn't grow back.
- Hydrogen peroxide: This needs to be handled with care. If you choose to use it, make sure it's properly diluted. We recommend a 1:1 ratio with a 3% solution at most to avoid irritating your gums.
The best rule of thumb? Listen to your body. If you feel any new sensitivity, pain, or gum irritation, stop immediately. Your safest bet is always to chat with a dentist first. We can tell you if your enamel is strong enough for at-home methods.
Can I Whiten Crowns, Veneers, or Fillings Naturally?
This is a big one, and the answer is a hard no. Whitening agents—both natural and professional—only work on natural tooth enamel. They have zero effect on the color of dental restorations.
The materials used for crowns, veneers, and fillings are typically porcelain or composite resin. They are custom-colored to match your smile when they're first placed, and that color is permanent.
If you whiten the natural teeth around them, you’ll end up with a mismatched look. Your natural teeth will get brighter, making the restorations look dull or yellow in comparison.
If you have dental work and want a brighter smile, the solution is a bit more involved. It usually means replacing the old restorations to match a new, whiter shade. This is the only way to get that seamless, uniform result you're looking for.
Ready to explore your options beyond home remedies? Whether you're considering professional whitening or need advice on matching your crowns and veneers, the team at Serena San Diego Dentist is here to help you achieve a bright, healthy smile safely. Schedule your consultation with us today!