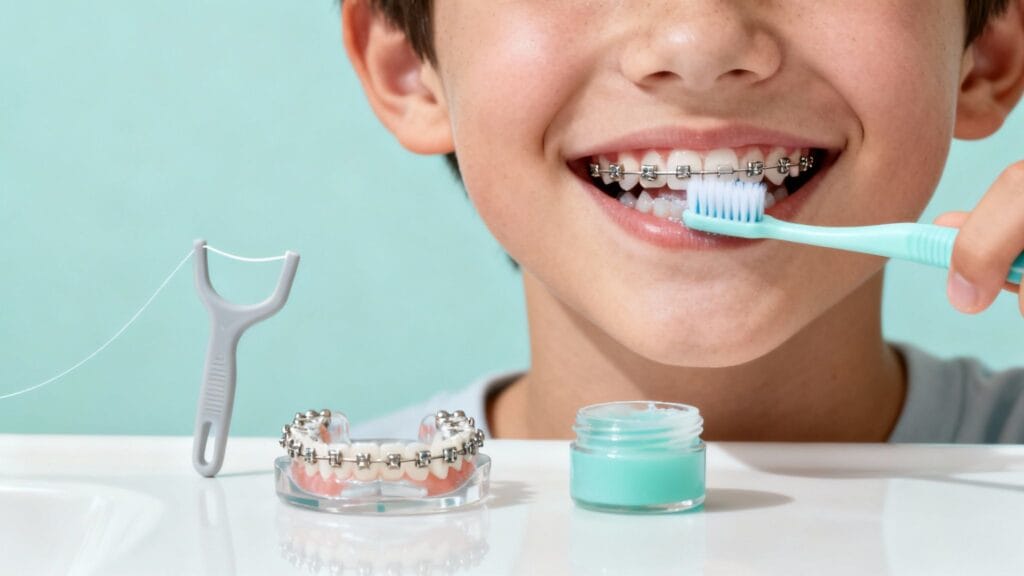
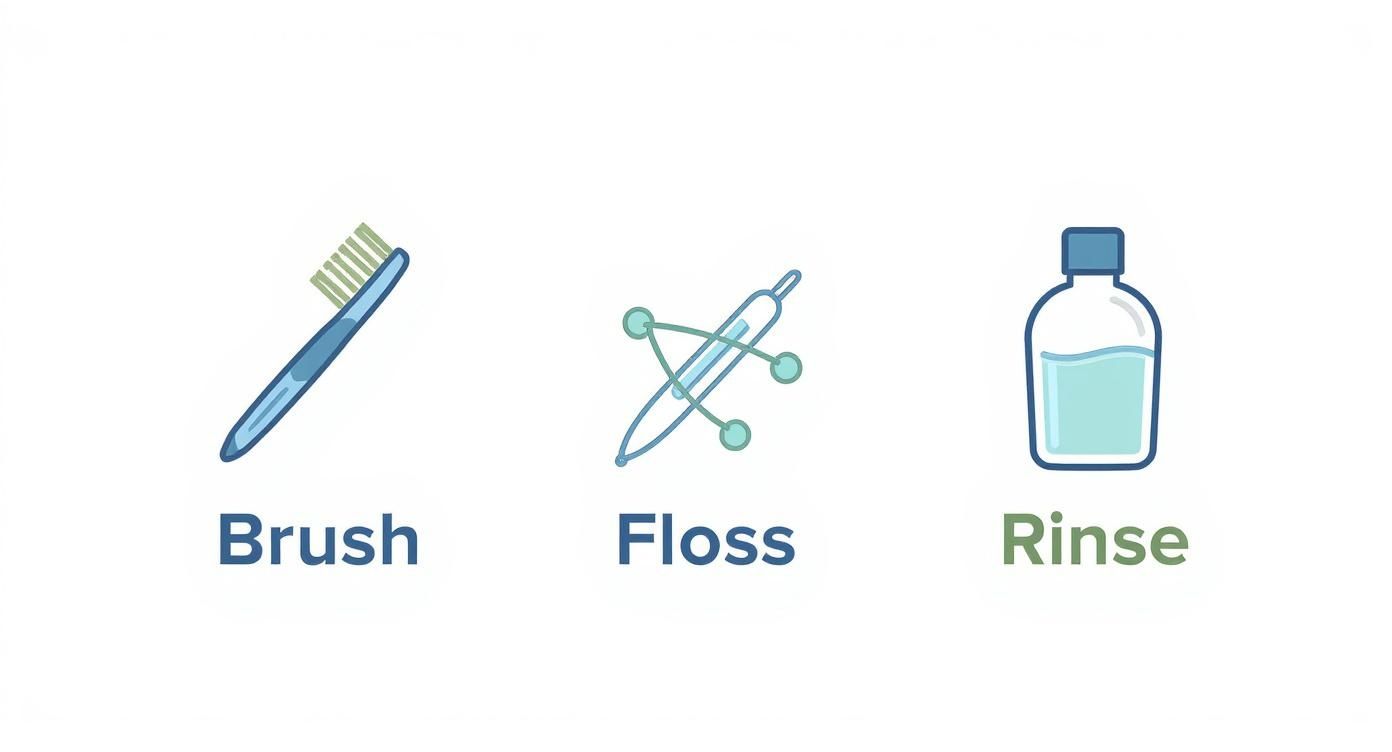
Getting braces on is an exciting first step toward the smile you’ve always wanted, but the real journey begins with your daily at-home care. The success of your orthodontic treatment hinges on consistency: brushing carefully after every meal, flossing daily with the right tools, and finishing with a protective fluoride mouthwash. This routine isn't just about keeping your teeth clean; it's about protecting the enamel underneath the hardware, ensuring your final smile is as healthy as it is beautifully straight.
Building Your Daily Braces Care Routine
Think of your daily oral hygiene as the foundation of your new smile. What you do each day in front of the bathroom mirror has a massive impact on your final results. While it might seem like a hassle initially, this dedicated routine is your best defense against plaque, staining, and cavities that can derail your progress.
Most people wear braces for about 23 months—that's a long time for food and plaque to hide around brackets and wires. With 4 million Americans in braces at any given time, we've seen firsthand how crucial a solid cleaning routine is. Those nooks and crannies are perfect traps for plaque, which is why brushing after every meal is a non-negotiable step.
Brushing With Braces: Mastering the New Technique
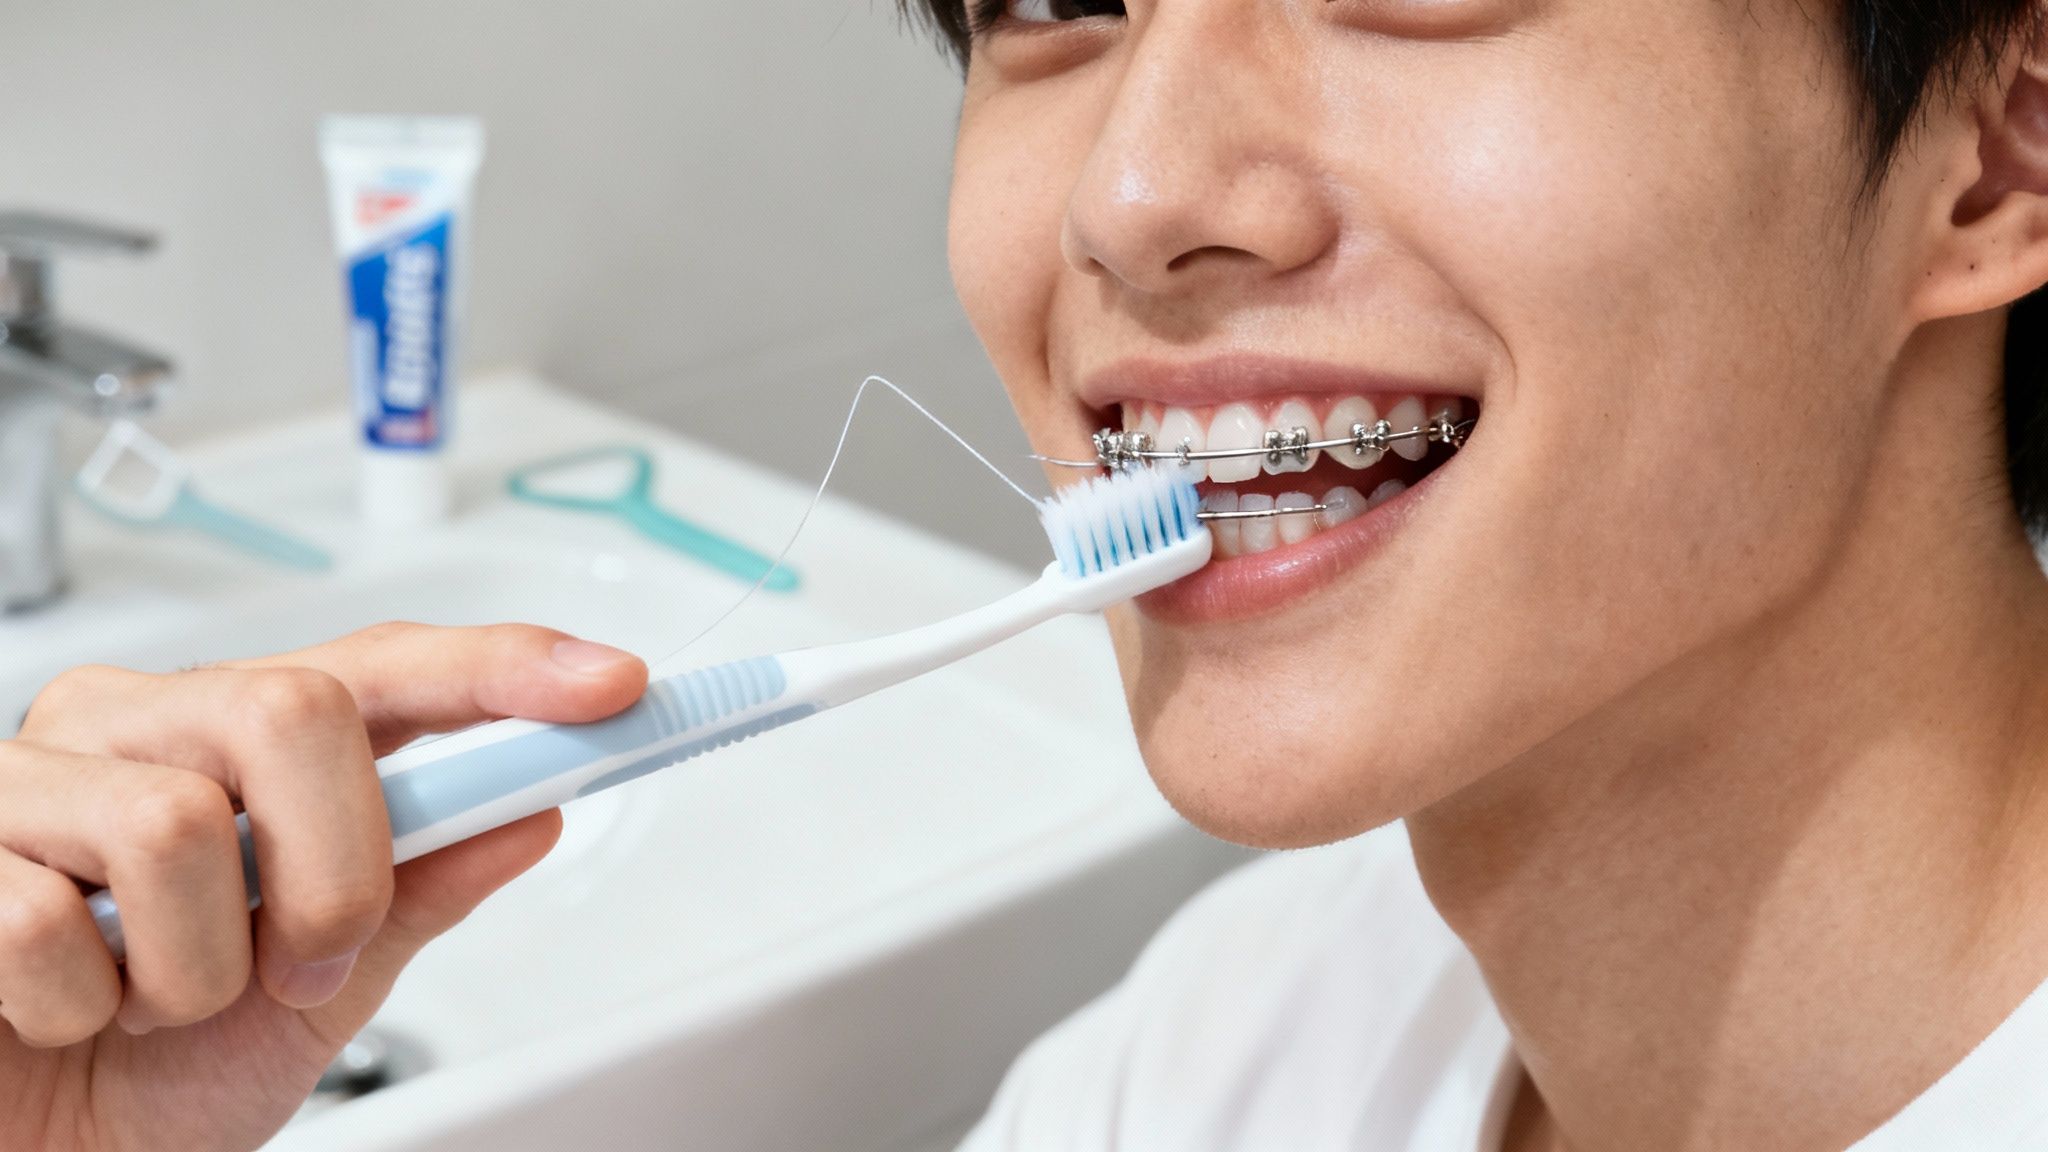
You'll need to adjust your brushing technique slightly. The goal now is to clean every tooth surface and all the intricate parts of your braces. A soft-bristled toothbrush is your best tool here—it’s gentle on your gums and flexible enough to clean around brackets without causing damage.
When you brush, tilt the toothbrush to a 45-degree angle to clean both above and below each bracket. Use gentle, circular motions to work the bristles into all those tight spots. Don't forget to brush the chewing surfaces and the backs of your teeth, just as you always have. It takes a little extra time, but the payoff is a healthy, stain-free smile.
Why You Absolutely Cannot Skip Flossing
Flossing with braces can feel like a major project, but it's the only effective way to clean between your teeth and get under the archwire where your toothbrush can't reach. Skipping this vital step is a recipe for gum inflammation, cavities, and those dreaded white spots that can appear after your braces are removed.
Fortunately, you have several options that make it much easier:
- Floss Threaders: These are simple plastic loops that help you guide regular floss under your wire. Simple but highly effective.
- Orthodontic Flossers: These are designed with a thin, stiff end that slides easily under the wire, making them incredibly convenient.
- Water Flossers: While not a direct substitute for string floss, a water flosser is fantastic for powerfully blasting out food particles stuck in tricky spots around your brackets.
Getting the hang of it takes practice. For a complete guide, you can find detailed instructions in our post on how to floss with braces.
To help keep you on track, here's a quick checklist you can mentally run through each day.
Daily Braces Care Checklist
This simple table breaks down the essentials for your daily routine. Think of it as a quick reference to make sure you're hitting all the key steps for a healthy smile.
| Task | Frequency | Key Tip |
|---|---|---|
| Brushing | After every meal | Use a soft-bristled brush at a 45-degree angle to clean around brackets. |
| Flossing | Once per day | Use a floss threader or water flosser to clean under the wire. |
| Rinsing | Once per day | Swish with a fluoride mouthwash to strengthen enamel and kill bacteria. |
Following this checklist helps build a strong habit that protects your teeth throughout your treatment.
The Final Step: Rinsing for Extra Protection
Once you've finished brushing and flossing, a quick rinse with a fluoride mouthwash is the perfect finishing touch. It reaches any spots you might have missed, helps kill bacteria that cause bad breath and plaque, and gives your enamel an extra boost of strength to fight off cavities.
A consistent daily routine is your best defense. Investing just a few extra minutes each day in your oral hygiene can prevent major setbacks and keep your orthodontic treatment on schedule.
Committing to this three-step process puts you in control of your orthodontic journey. It ensures that when the big day comes to remove your braces, the smile you see is not only perfectly straight but brilliantly healthy, too.
What to Eat (and What to Avoid) with Braces
One of the biggest adjustments with braces is modifying your diet. It might seem like a hassle at first, but it’s all about protecting the hardware in your mouth—the brackets, bands, and wires—so your treatment stays on track.
Think about it this way: biting into a whole apple or a crusty piece of bread can easily pop a bracket off. Sticky foods like caramel can get hopelessly tangled in your wires. A broken appliance often means an extra trip to our San Diego office and can even delay your progress.
The "Do Not Eat" List: Why It's So Important
That list of foods to avoid isn't meant to punish you. It’s all about preventing setbacks. A broken bracket or a bent wire can add weeks, or even months, to your total treatment time.
Here are the main culprits to watch out for:
Hard Foods: Things like nuts, hard candies, and ice are obvious no-gos. Even seemingly innocent foods like popcorn can be a problem, especially those sneaky unpopped kernels. Instead of biting into a whole carrot, simply cut it into small, bite-sized pieces you can chew with your back teeth.
Sticky Foods: This is a major one. Caramels, taffy, and gummy candies are notorious for getting stuck and pulling on your hardware. They're also a nightmare to clean, which dramatically increases your risk for cavities.
Chewy Foods: Tough bagels, licorice, and jerky put significant strain on your brackets. When in doubt, opt for softer breads and cut tougher foods into manageable bites.
Crunchy Foods: Chips and hard taco shells can break into sharp fragments that get lodged under your wires, making cleaning a real challenge and potentially damaging your braces when you bite down.
Remember, the goal is to be mindful, not to feel deprived. Every meal is a chance to make smart choices that protect your investment and keep your treatment moving forward.
So, What Can You Eat? Plenty!
The good news is the list of braces-friendly foods is much longer than the list of what to avoid. Especially in the first few days after getting your braces or after an adjustment, your teeth will likely be tender, so soft foods will be your best friend.
Here are some great go-to options:
- Proteins: Scrambled eggs, tender chicken or fish, and meatballs are all perfect.
- Dairy: Yogurt, cottage cheese, and smoothies are gentle and packed with calcium.
- Grains: Soft-cooked pasta, rice, and oatmeal are always safe choices.
- Fruits: Bananas, applesauce, and berries are fantastic. For firmer fruits like melons, just be sure to cut them up first.
- Vegetables: Think mashed potatoes, steamed carrots, and cooked spinach.
Adjusting to new food rules can be tough for anyone. If you're struggling to find meals, these picky eater meal ideas that actually work have some great strategies that can help you maintain a balanced and satisfying diet.
A Quick Word on Sugary and Acidic Drinks
While a can of soda won't break a wire, sugary and acidic drinks are a major threat to your tooth enamel. Things like sports drinks, sodas, and even some fruit juices can lead to plaque buildup around your brackets, causing permanent white spots or even cavities.
It’s best to limit these as much as possible. When you do indulge, use a straw to minimize contact with your teeth and rinse your mouth with water right afterward. To learn more, check out our guide on the most acidic beverages and foods to limit.
How to Manage Braces Discomfort at Home
Let's be honest—a little soreness after getting your braces on or having them adjusted is completely normal. It’s actually a good sign! It means your teeth are moving toward their new positions. While that tenderness usually only lasts for a few days, knowing a few simple tricks to manage it can make a world of difference.
Think of this as your go-to guide for handling the temporary aches and pains, from general soreness to those pesky poking wires.

Most of these minor issues can be easily handled at home, saving you an extra trip to the office.
Soothing General Soreness and Tenderness
That dull, achy feeling in your teeth and gums right after an appointment is the most common complaint we hear. It’s your body adjusting to the new pressure, and it typically fades within three to five days.
Your best bet during this time is to embrace soft foods. Smoothies, yogurt, soups, and mashed potatoes will be your best friends. An over-the-counter pain reliever can also help take the edge off, but it’s always wise to check with us or your family doctor first.
Don’t underestimate the power of a simple warm salt water rinse. Just dissolve half a teaspoon of salt in a cup of warm water, swish for about 30 seconds, and spit. It's a classic remedy that genuinely works to soothe irritated gums and reduce inflammation.
Dealing with Poking Wires and Irritating Brackets
As your teeth start to align, you might notice the archwire suddenly seems longer and starts poking your cheek. Or maybe a bracket is rubbing against the inside of your lip, creating a sore spot. This is exactly what orthodontic wax was made for.
Pinch off a tiny piece, roll it into a ball between your fingers, and press it firmly over the part that's bothering you. It creates a smooth buffer that provides instant relief. If you want to master the technique, you can learn more about if you've been using dental wax the right way.
Pro Tip: Before applying the wax, dry the bracket or wire with a bit of tissue or a cotton swab. The wax will stick much better and last significantly longer.
If a wire is really causing trouble and you can't get in to see us, you can try gently pushing it back toward your teeth with the eraser end of a new pencil.
Managing Sores and Irritations
It’s not unusual to get small sores, similar to canker sores, inside your cheeks and lips as they get used to the new hardware. Your mouth is resilient and will adapt! These spots usually heal on their own in a week or two.
To help them along and ease discomfort, here are a few things that help:
- Salt Water Rinses: We mentioned it before, but it's worth repeating. It keeps the area clean and helps it heal faster.
- Topical Anesthetics: You can find oral anesthetic gels (like Orajel) at any pharmacy. A small dab directly on the sore can provide temporary numbing relief.
- Heat Application: Sometimes the soreness isn't in your mouth but in your jaw. A warm compress held against the outside of your jaw can be incredibly comforting. Understanding the remarkable benefits of heat therapy shows how it helps relax those tense muscles.
While most discomfort is a normal part of the journey, you should never hesitate to call our San Diego office if you're in severe pain or if something breaks. We're always here to help keep you comfortable on your way to a fantastic new smile.
When to Call Your Orthodontist for Help
https://www.youtube.com/embed/bp9KOIShOAI
Even when you’re doing everything right, your braces can sometimes present a challenge. While things like general soreness are a normal part of the process, certain situations need a professional's eye to keep your treatment on track and avoid bigger headaches later on.
Learning to tell the difference between a minor hiccup and a real orthodontic issue is a skill you'll develop. Let's walk through what warrants an immediate call versus what can probably wait for your next check-in.
Situations That Need Your Orthodontist's Attention
True orthodontic emergencies are rare, but some problems simply shouldn't be ignored. If you encounter any of the issues below, it's always best to give your orthodontist's office a call right away. They can assess the situation over the phone and tell you exactly what to do next.
You should get in touch with your orthodontist promptly for these problems:
- A Completely Broken or Loose Bracket: If a bracket pops off a tooth or is sliding freely on the wire, it needs to be fixed. That bracket is no longer doing its job, and leaving it can slow down your treatment.
- A Loose Molar Band: The metal rings cemented around your back teeth are the anchors for your braces. If one becomes loose, it creates a perfect trap for food and bacteria, which can quickly lead to a cavity.
- A Poking Wire Causing Serious Pain: Is a wire stabbing your cheek so badly that orthodontic wax just isn't cutting it? Don't just try to tough it out. Your orthodontist can snip that wire in a few seconds and provide immediate relief.
- Trauma to the Mouth or Face: If you take a hit to the mouth during sports or an accident, you need to get things checked out. Even if your teeth and braces seem fine, it's crucial to make sure there's no underlying damage.
What You Can Do in the Meantime
So, you've called the office and are waiting for your appointment. What now? You can usually take a few simple steps to make yourself more comfortable.
If a bracket is loose but still attached to the wire, you can use a piece of orthodontic wax to gently press it back against the tooth. This will prevent it from jiggling around and irritating your mouth.
Should a bracket come off the wire entirely, don't throw it away! Keep it in a small bag or container and bring it with you to your appointment. Never try to glue or reattach anything yourself—you could end up causing more harm than good.
The goal here is simple: stay comfortable and prevent any further issues. A little bit of at-home triage followed by a call to the experts is the perfect combination.
Problems That Can Likely Wait
Not every little thing is a major emergency. Some issues, while annoying, are not urgent and can typically wait until your next scheduled visit without disrupting your progress.
You can usually wait for your next appointment if you experience:
- A Loose Ligature (the tiny rubber band): If one of those small colored elastics that holds the wire to your bracket comes off, it’s not usually a big deal. The only exception is if it’s on the very last bracket in the back.
- General Soreness After an Adjustment: As we've already covered, feeling tender after your wires are tightened is 100% normal. It's a sign your teeth are moving, and it will fade in a day or two.
When in doubt, just call. Your orthodontist's team is there to help. A quick phone call can save you a lot of worry and ensure you get the right advice for whatever you're dealing with.
Upgrading Your Orthodontic Cleaning Toolkit
While your trusty toothbrush and floss are the cornerstones of braces care, sometimes you need to call in the special forces. Stepping up your cleaning game with a few specialized tools can make your daily routine faster, easier, and much more effective. They're designed specifically to navigate the obstacle course of brackets and wires.
Think of it this way: you can sweep a workshop floor, but a shop vac gets all the sawdust out of the corners. For your mouth, these specialized tools are that deep-cleaning crew, hitting all the spots your regular tools might struggle with.
The Power of Water Flossers
A water flosser is an absolute game-changer when you have braces. This device, also known as an oral irrigator, directs a pulsating stream of water right where you need it. It’s fantastic for blasting away stubborn food particles that get stuck around your brackets and under the archwire. That feeling of dislodging a piece of popcorn or bread is incredibly satisfying.
It’s important to know that a water flosser doesn't replace traditional flossing—you still need to physically scrape plaque from between the teeth. But it's an amazing partner. It flushes out debris, massages your gums, and can significantly reduce puffiness and irritation.
Interdental Brushes for Precision Cleaning
Meet your new best friend for detail work. These small, cone-shaped brushes, sometimes called proxy brushes, are designed to get into all the tiny, awkward spaces around your hardware.
They're perfect for cleaning:
- Underneath the wire between each bracket.
- The sides of the brackets themselves.
- Around molar bands or other attachments.
These little brushes are plaque-fighting ninjas, targeting buildup right where it loves to hide. They're also small enough to carry with you for a quick clean-up after lunch.
Specialized Orthodontic Toothbrushes
You might also see toothbrushes made just for people with braces. They often have a "V-shaped" bristle design—shorter in the middle and longer on the outside. This clever shape lets you clean your tooth surface and the braces hardware at the same time, making your brushing more efficient.
An upgraded toolkit isn't about making your routine more complicated; it's about making it smarter. Each tool has a specific job that contributes to the overall health of your smile during treatment.
When to Add an Antimicrobial Mouth Rinse
For most people, a good fluoride rinse does the trick. But if you’re noticing your gums are consistently swollen or irritated (gingivitis), your orthodontist might suggest an antimicrobial mouth rinse. These rinses are formulated to reduce harmful bacteria in your mouth, which helps calm inflammation and lowers your risk for other issues.
Just be sure to use these as directed. They're more like a short-term prescription than a daily-use product, and overuse can sometimes have side effects.
With orthodontic treatment being so common—studies show that 25% to 50% of kids and teens will need it—getting your care routine down is a huge advantage. As research confirms, using tools like water flossers and interdental brushes is a proven way to keep plaque under control and maintain great gum health. You can find more orthodontic statistics at Alignerco.ca.
Choosing the right tools can feel overwhelming, but it's really about finding what works best for your routine and budget. Here's a quick breakdown to help you decide.
Braces Care Tools Comparison
| Tool | Primary Use | Best For |
|---|---|---|
| Water Flosser | Flushing debris from around brackets and under wires. | Anyone with braces, especially those who struggle with traditional flossing or have sensitive gums. |
| Interdental Brush | Precision cleaning in small, hard-to-reach spaces. | Targeting plaque buildup around individual brackets and under the archwire. |
| Floss Threader | Guiding traditional floss under the archwire. | Patients who prefer the feel of standard floss and want a thorough, manual clean between teeth. |
| Ortho Toothbrush | Brushing both teeth and braces hardware simultaneously. | Daily brushing to efficiently clean multiple surfaces at once. |
| Antimicrobial Rinse | Reducing bacteria and controlling gum inflammation. | Patients experiencing gingivitis or persistent plaque, as recommended by their orthodontist. |
Ultimately, a combination of tools often yields the best results. By adding just one or two of these specialized items to your arsenal, you can take your braces care from good to great, ensuring that your smile is as healthy as it is straight when your treatment is finished.
Common Questions About Living with Braces

Getting braces is a big change, and it's completely normal to have a ton of questions as you go. Beyond the big topics like cleaning and what to eat, it's the small, day-to-day things that you often wonder about. Let's tackle some of the most common questions we hear from patients in our San Diego office.
How Long Will My Teeth Be Sore After an Adjustment?
That gentle ache after a tightening appointment is actually a positive sign—it means your teeth are on the move! The soreness is perfectly normal and usually only lasts for about 3 to 5 days as your mouth adjusts to the new pressure.
To manage it, I always recommend sticking to soft foods. Think yogurt, soup, mashed potatoes, and smoothies for a few days. An over-the-counter pain reliever can also help take the edge off, but it's always smart to check with your orthodontist first. A simple warm salt water rinse a few times a day can also work wonders for any irritation in your gums or cheeks.
Can I Still Play Sports or Musical Instruments?
Absolutely! Getting braces doesn't mean sitting on the sidelines. You just need to add a couple of protective steps to your routine to keep your smile and your hardware safe.
If you play contact sports like soccer, basketball, or wrestling, an orthodontic mouthguard is a non-negotiable. These are not standard mouthguards; they're designed with special channels to fit comfortably over your brackets. This protects your lips from getting cut and prevents expensive damage to your braces.
For musicians who play wind instruments like the trumpet or clarinet, expect a brief adjustment period. You can use orthodontic wax or special lip protectors to create a cushion between your braces and your lips until you get the hang of your new embouchure.
The key takeaway is simple: protect your investment. A few small adjustments to your activities can prevent painful injuries and keep your orthodontic treatment on schedule.
What Should I Do if a Bracket Breaks or Comes Loose?
First, don't panic. It happens from time to time, even when you're being careful. If a bracket feels loose but is still on the wire, grab a small piece of orthodontic wax and gently press it over the bracket to hold it in place. This will stop it from poking you or sliding around.
If the bracket pops off completely, try to save it and bring it with you to your appointment. Either way, the most important step is to call your orthodontist's office right away. They'll let you know if you need to come in for a quick fix or if it can wait until your next scheduled visit.
Are There Drinks I Should Avoid with Braces?
Yes, being smart about what you sip is a big part of keeping your teeth healthy during treatment. Sugary drinks are the main offenders—soda, sports drinks, and many fruit juices. The sugar gets trapped around your brackets and wires, creating a breeding ground for plaque and increasing your risk for permanent stains or cavities.
Acidic drinks, like diet sodas and citrus juices, can also cause trouble by eroding tooth enamel. If you're going to have one of these drinks as a treat, use a straw to help it bypass your teeth. Afterward, swish your mouth with water or, even better, brush as soon as you can.
Remember, once your braces come off, the work isn't quite done. Keeping that beautiful new smile straight is the next chapter. To learn more about what comes next, you can read about whether your teeth will move back after braces.
At Serena San Diego Dentist, we're here to support you through every step of your orthodontic journey. If you have questions or need to schedule a consultation, visit us at https://serenasandiegodentist.com to get started.